Like so many of you I was a bit lost once HC went away and we also lost a lot of resources that had been uploaded over the years that included real aircraft dimensions and so many other tips and tricks from others. Its great to have somewhere to showcase our work again as well as hopefully being able to inspire others to try out some of the tips and tricks we employ that complements our hobby and I am always looking for new ways to do things better!
Thank you Sergio for continuing to grow Helisimmer.com and for starting the forums.
I want to start putting updates from my sim as an when something large’ish changes. I haven’t had a fully functional sim for about a 1.5 years as I totally dismantled my previous one and have been working on all my new bits and bobs.
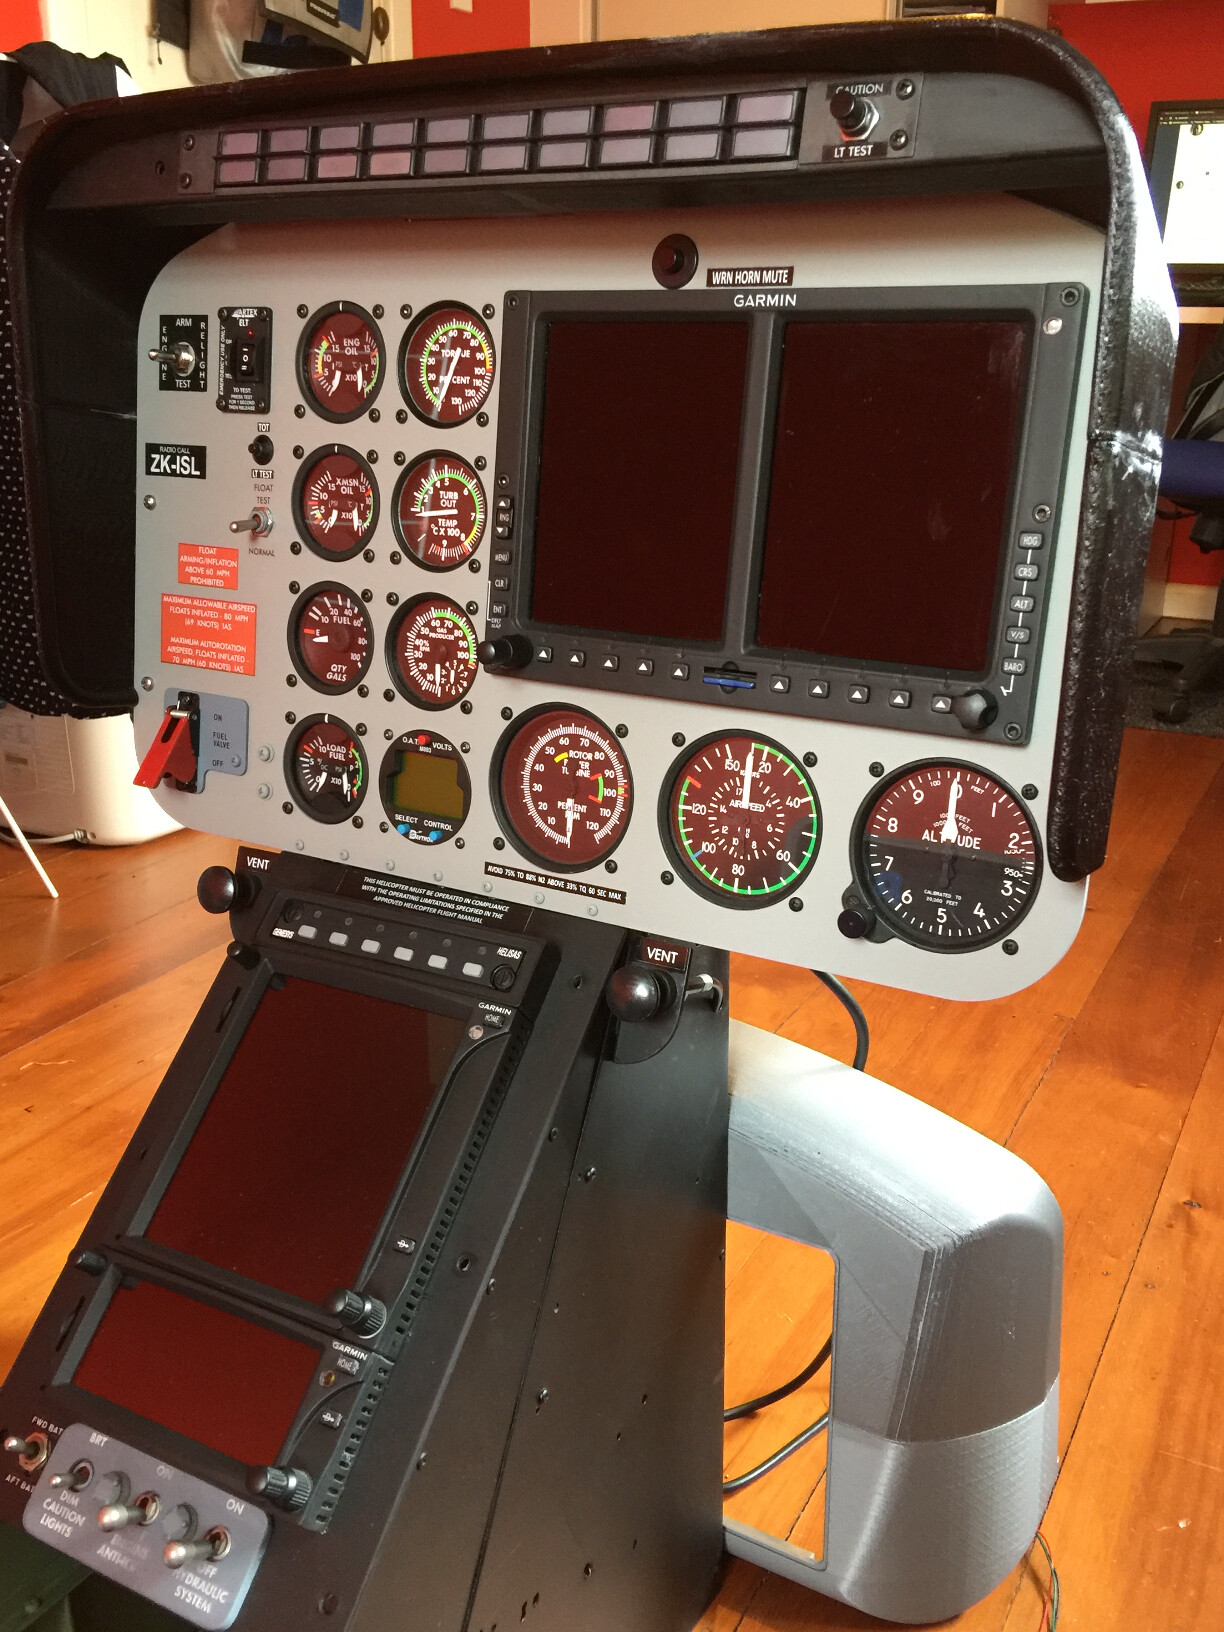
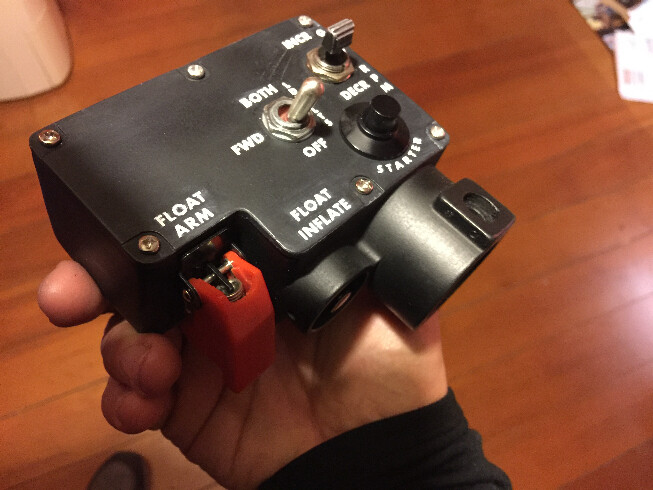
I use Fusion 360 and a Prusa 3D printer along with a small CNC engraver to produce most of the custom parts that I make and then use a lot of different materials. All the gauges are stepper based and are my own designs with custom artwork. I base the gauges, panels and radio/GPS units on the real world equivalent and reference manufactures drawings to get the sizing right and then cram all the technology into that space.
Happy to answer any questions anybody has on the build and I hope to post updates as regularly as I can.
Not yet! My plan has always been to release a lot of this to the community but I am still tweaking the designs and experimenting with different motors and control boards. Once I’m a bit happier I’d like to get them out there. I wasn’t really sure on the best way to do it as once you put stuff like this out there somebody inevitably rips it off and starts profiting from it (long standing gripe re thingieverse). I probably should get over myself and except thats going to happen. It would be good if the downloads section could host a 3D model section. Also overtime build designs with other users contributing which would speed things along.
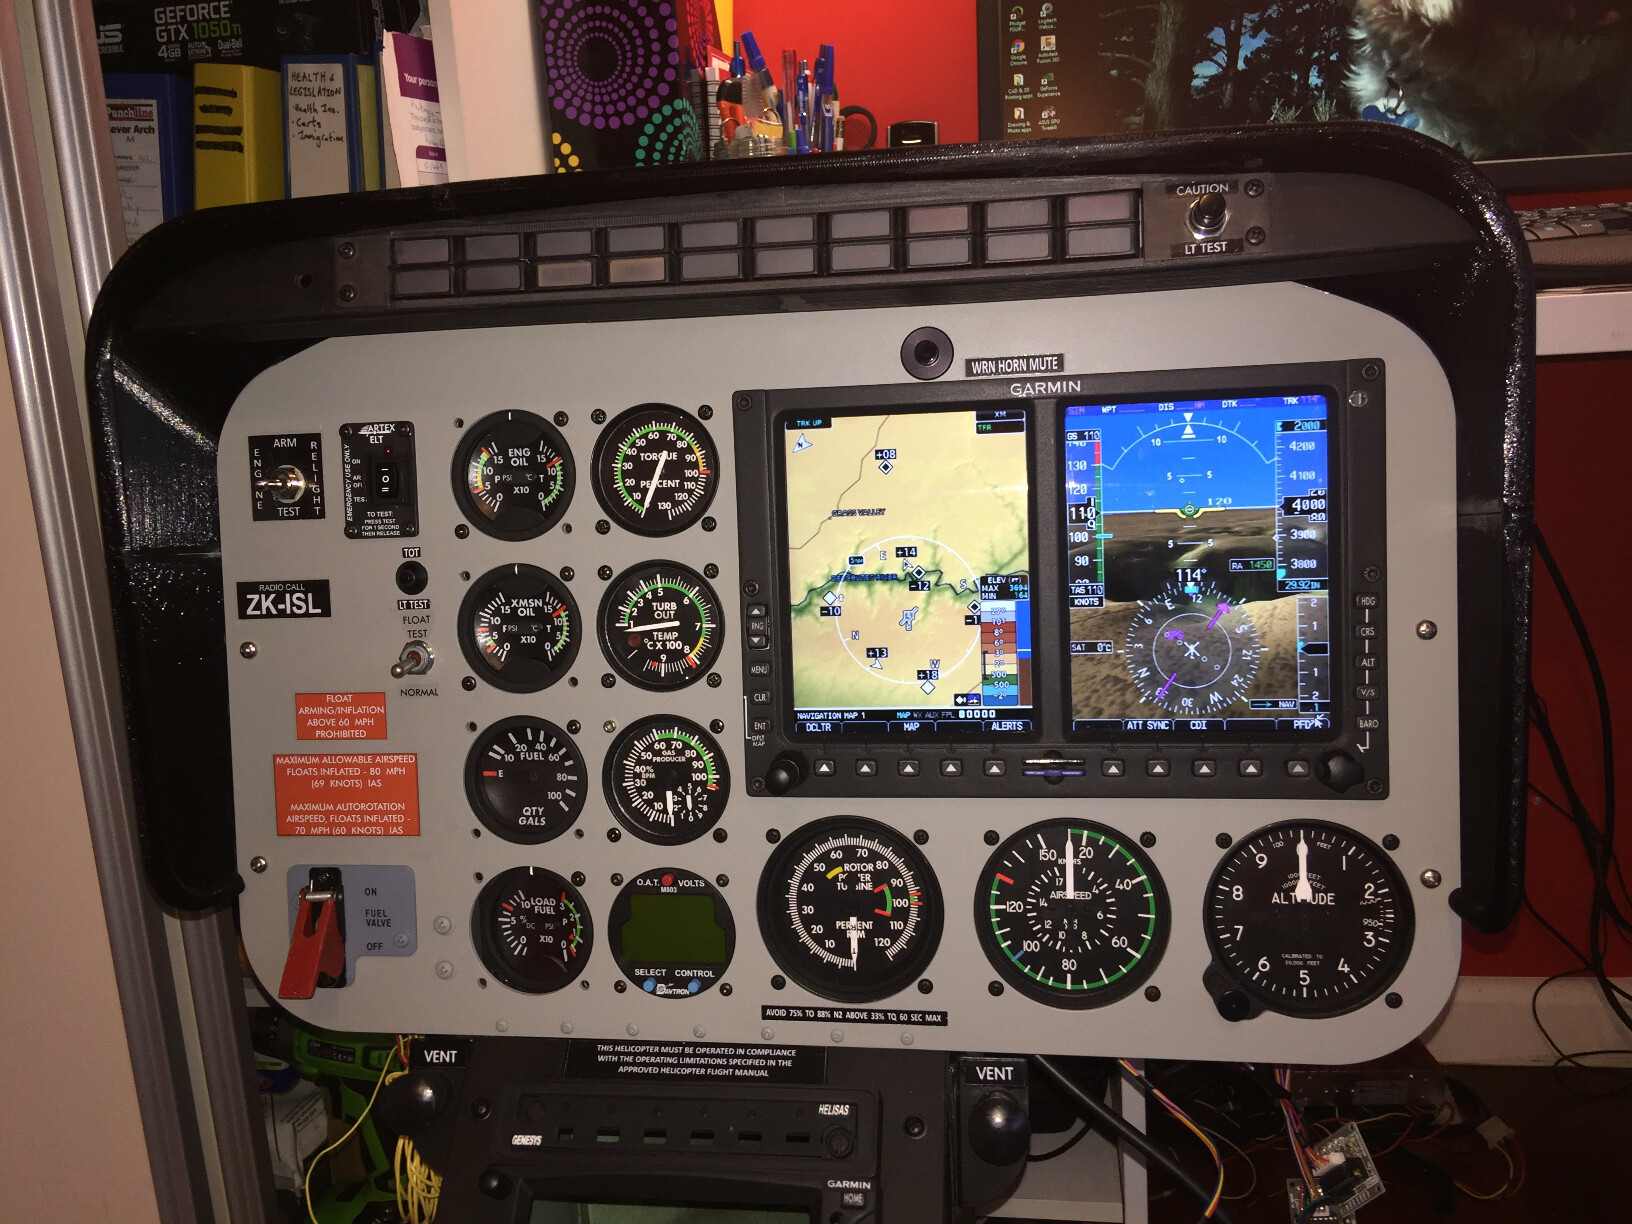
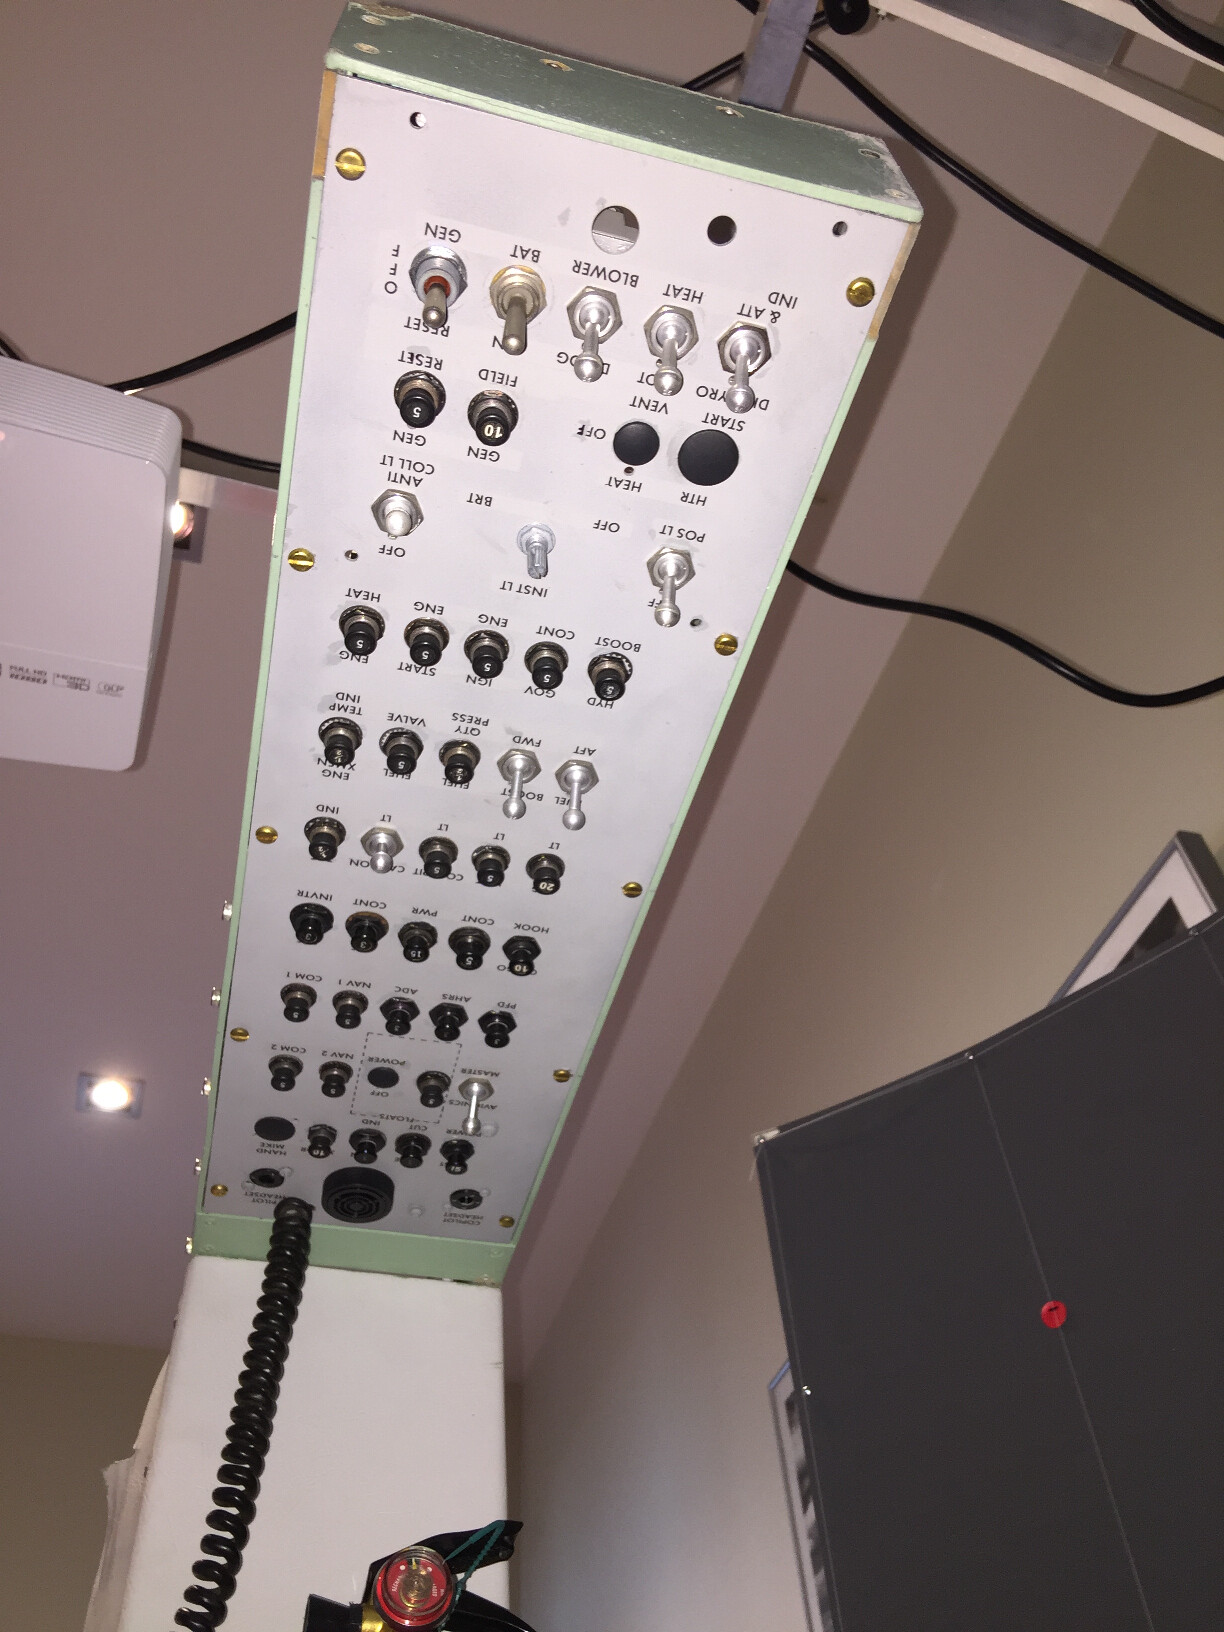
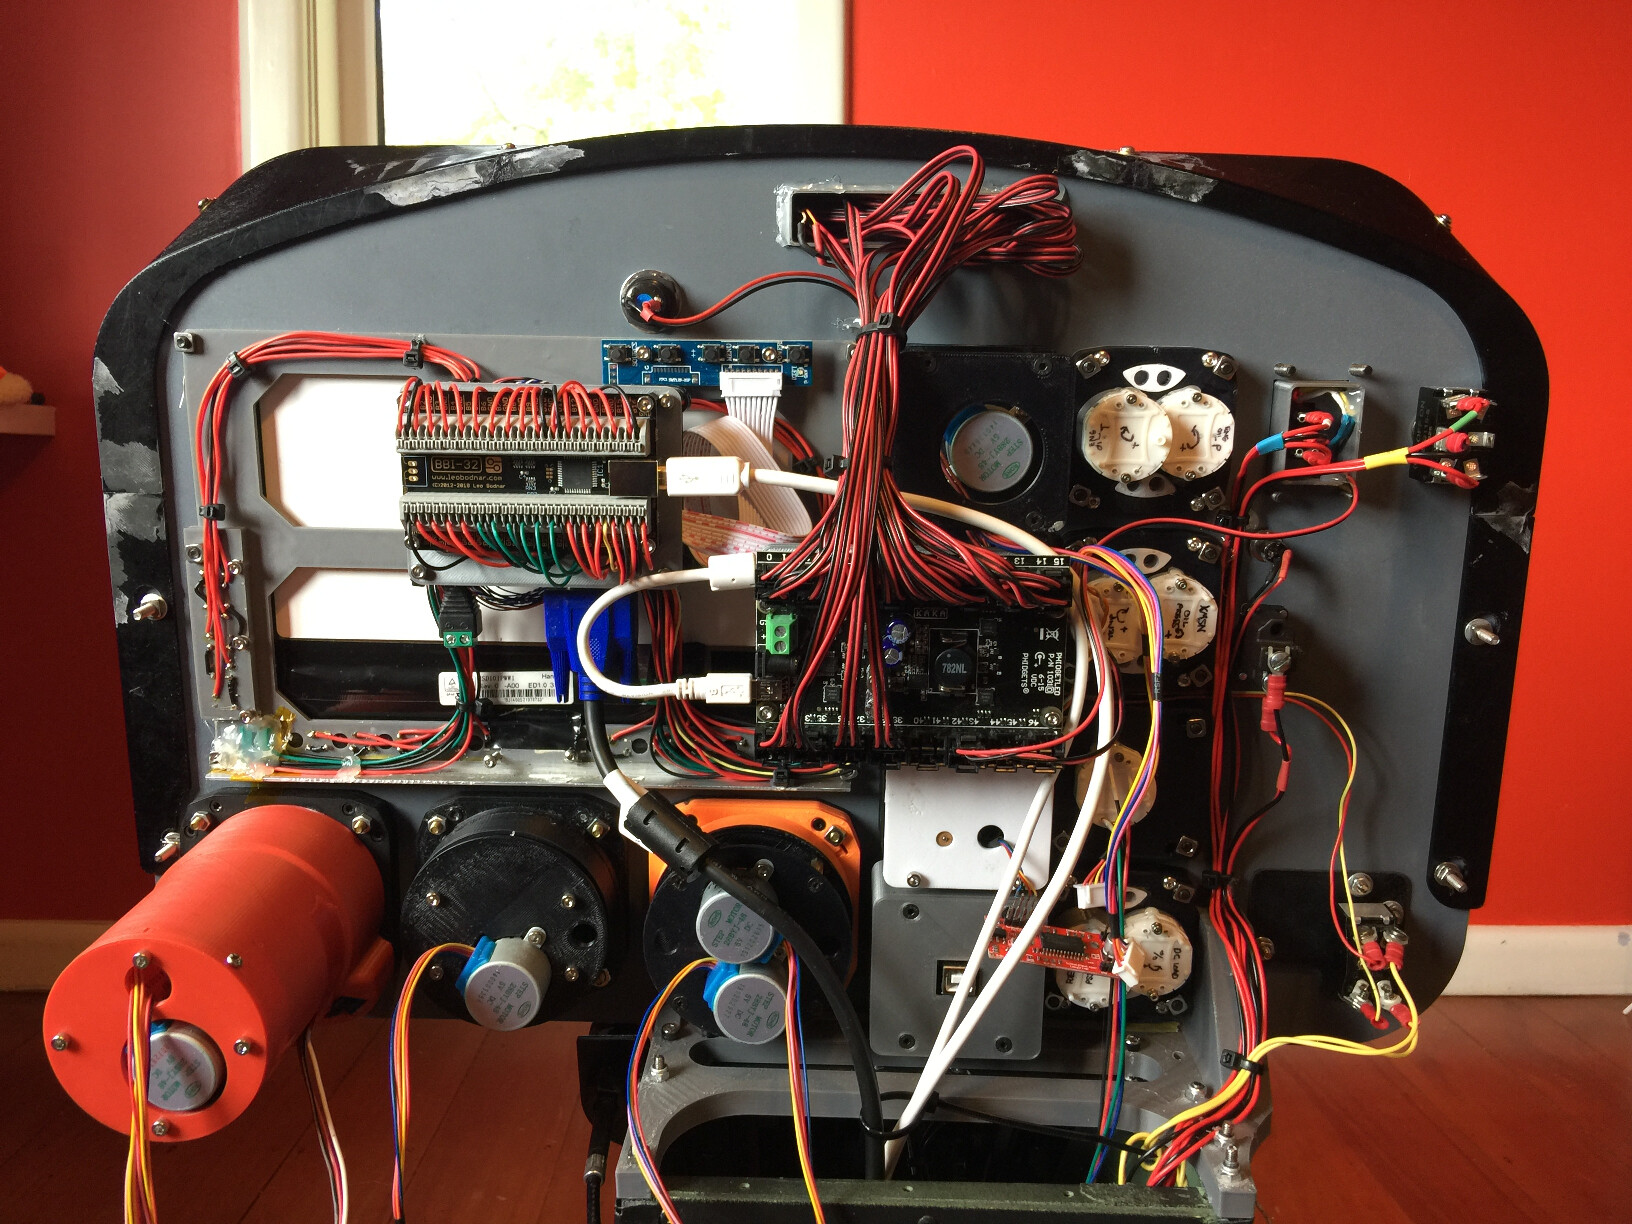
The panel is getting more cluttered by the day! It is however a lot more organised than my first sim. Still to fit on that panel is two arduinos for the gauges and 15 driver boards, seven of the older ULN2003 ones for the gauges with 28BYJ motors (2 in the altimeter, 2 in the dual N2 +RRPM, 1 each in the ASI, TOT and Torque) and eight easy driver boards for the X27.168 gauges (2 in engine oil P+T, 2 in XMSN oil T+P,1 in Fuel qty, 2 in DC Load + Fuel Press) and the last one is currently a test with a different stepper in the N1 (can’t remember the type off hand!). All the gauges are configured with Mobiflight. Also to go in are 12v and 5v bus bars to power the stepper drivers. As I’m using a 270 degree FOV 3 projector screen from Simpit Tech the mip enclosure is very short and also curved on the co-pilot side to fit snug with the screen so as to keep my head centred. Once the mip, avionics panel and the overhead is done I will be focusing on modifying my flight controls. I have some new Hall effect rotary sensors that turn through 360 degrees and I have 2GT 9mm wide belts and pullies from the controls to gear the 60-70 degrees max deflection of the flight controls to close to the full 360 degrees of the sensors which should give a ridiculous number of data points getting close to full 12 bit resolution the Leo Bodnar BU0386A board is capable of.